
Contenu
- Mostbet Registration
- Eligibility and basic requirements in India
- Registration methods you can usually choose
- How to register in the mobile app
- How to register by method
- Promo code / bonus code: where it appears and what to do if it doesn’t apply
- First login checklist
- What information you should prepare before registering
- Verification (KYC) for Indian users: what it is and when it’s needed
- Payments after registration
- Account recovery: if you lose access after registration
- Security checklist right after registration
- Responsible gaming
- Mostbet registration FAQ

welcome bonus
100%+250 FS
on first deposit


Contenu
- Mostbet Registration
- Eligibility and basic requirements in India
- Registration methods you can usually choose
- How to register in the mobile app
- How to register by method
- Promo code / bonus code: where it appears and what to do if it doesn’t apply
- First login checklist
- What information you should prepare before registering
- Verification (KYC) for Indian users: what it is and when it’s needed
- Payments after registration
- Account recovery: if you lose access after registration
- Security checklist right after registration
- Responsible gaming
- Mostbet registration FAQ
Mostbet Registration
Registering for Mostbet in India is simple: select how you’ll sign up, verify your details (OTP or email), and complete profile information that affects payments and withdrawals. This guide details registration methods (web and mobile), promo code usage, and what to prepare ahead to prevent access complications.
Eligibility and basic requirements in India
- Age: only if you meet the platform’s age requirement (commonly 18+ for gambling products).
- Local rules: gambling and betting rules can vary by Indian state/UT, so players should verify local applicability before using any betting/casino product.
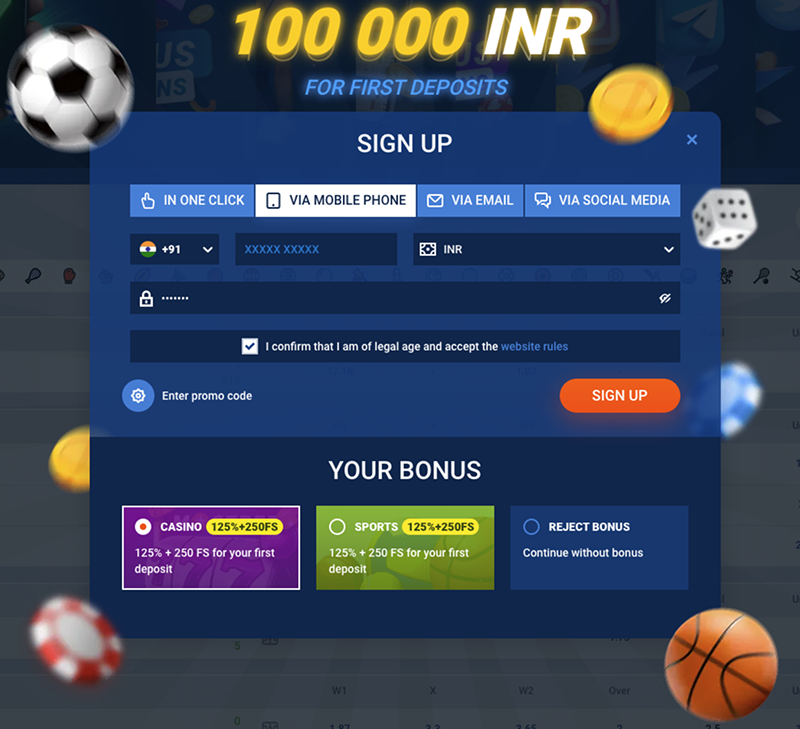
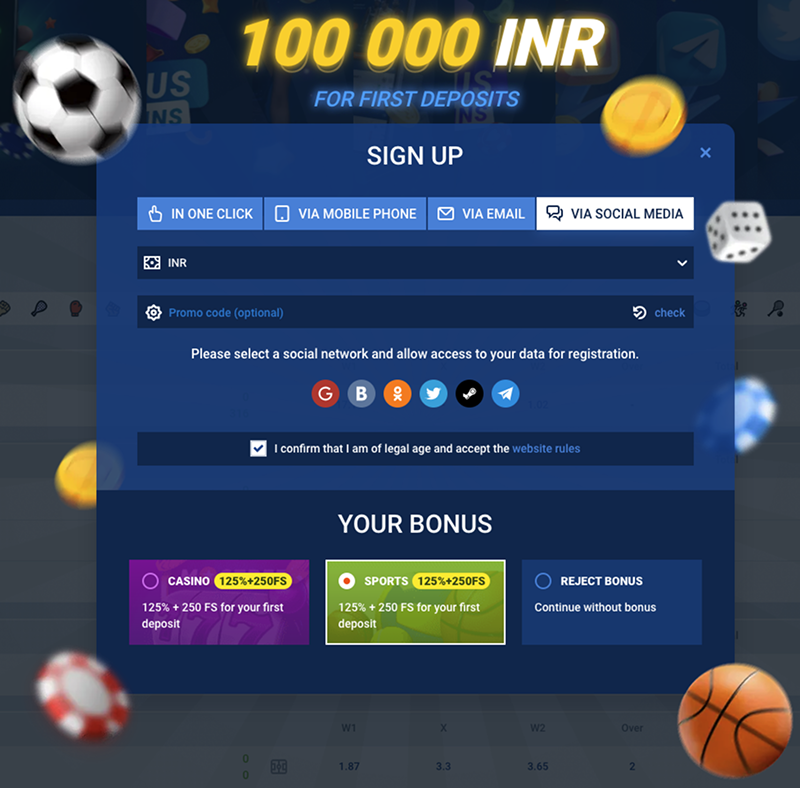
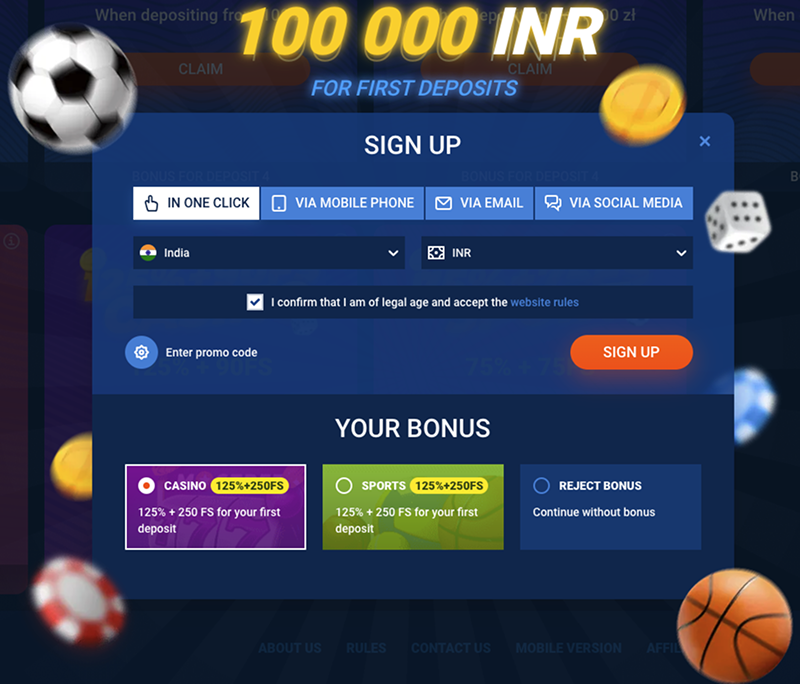
Registration methods you can usually choose
Mostbet’s registration flow is commonly described with four sign-up methods: One Click, mobile phone, email, or social networks.
| Method | What you provide first | How you confirm | Typical use case | Notes |
| One-click | Minimal details | Usually completes instantly | Fast start | You may need to complete a profile later for withdrawals |
| Phone (+91) | Mobile number | SMS/OTP code | Primary option for India | Ensure the number is accessible for recovery/OTP |
| Email + password | Email verification link/code | When you prefer email login | Use an email you control long-term | |
| Social login | Social account | Social provider authorization | Convenience | Keep access to the social account to avoid lockouts |
How to register on the website step-by-step
- Open the sign-up form
Find Sign Up / Registration on the homepage or in the account menu.
- Select your registration method
Choose one-click, phone, email, or social login.
- Set country/currency if prompted (India/INR)
Some sign-up flows include country and account currency selection. If you see these fields, choose India and INRto keep cashier and limits consistent with your region.
- Enter your core details
Depending on method: phone/email, and sometimes name and date of birth. Use details that match your documents if you plan to complete KYC later.
- Promo code / bonus code (if you have one)
See a Bonus code field? Enter it exactly as provided (upper/lower case matters). Don’t have one? Just skip it. Typical mistakes: adding spaces, switching O and 0, invisible stuff from pasting.
- Confirm contact (OTP or email verification)
Enter the code you receive (SMS/email) or complete the social authorization flow.
- Set up security for your account
Create/confirm your password, and activate any security features in your profile before you deposit.
| Field in the form | What to enter | Why it matters |
| Country/Region | India | Helps align cashier options, currency, and compliance prompts |
| Currency | INR | Avoids confusion with balances/limits and reduces support friction later |
| Phone number | Your active number with +91 | OTP delivery, login recovery, security checks |
| Email you control long-term | Recovery channel, notifications, security verification | |
| Password | Unique strong password | Reduces takeover risk and future lockouts |
| Date of birth | Your real DOB | Prevents KYC mismatches and verification delays |
| Promo/Bonus code | Exact code | Determines eligibility for promo mechanics; wrong input often fails silently |
| Consent checkboxes | Read and confirm | Avoids account restrictions caused by missing required consent |
How to register in the mobile app
Android (APK install → registration)
- Allow installation from unknown sources
Enable “Install unknown apps/unknown sources” in Android security settings. - Download the Android APK from the official site section
Use the platform’s “Mobile Applications” / download area to get the installer. - Install the APK
Open the downloaded file and complete installation. - Open the app and sign up
Choose the same registration methods (phone/email/social) and complete confirmation. - Check region/currency in profile
After registration, confirm your country/currency settings if your profile includes them.
iOS (App Store → registration)
- Install from the App Store
Search and install the official app listing. - If the app is not visible, check your App Store region
Availability can depend on region settings. - Open the app and register (or log in)
New users follow the sign-up prompts; existing users log in with the same credentials.
How to register by method
This section mirrors the same end goal (an active account) but shows the exact flow per method so you can pick the least-friction option.
Phone registration (India +91)
- Go to the sign-up form and pick a Phone.
- Select country code (or confirm it’s +91).
- Type in your mobile number (use a number that gets SMS reliably).
- Make a password (unique one; don’t reuse passwords from other accounts).
- If shown, set India/INR and enter promo code if you have one.
- Get the OTP and enter the code from SMS within the time limit.
- Finish registration and right away set up recovery channels in your profile (phone/email).
Typical mistakes: wrong country code, DND/blocked SMS, entering a number you cannot access long-term.
Email registration
- Open the sign-up form and choose Email.
- Enter a working email address that you control long-term.
- Create a password (unique).
- Fill personal details if requested (name/DOB — match documents if you will do KYC).
- If shown, set India/INR; add promo code only if applicable.
- Confirm email via the verification link/code (check Spam/Promotions).
- Complete profile and add/confirm phone as a backup recovery channel if available.
Typical mistakes: typos in email, verification email going to spam, using a disposable email.
Social login registration
- Choose Social in the sign-up form.
- Select the social provider and authorize access.
- Confirm whether phone/email are missing in the profile (add them if required/available).
- Set/confirm India/INR if your account settings allow it.
- Review security settings and session list (if available).
Typical mistakes: losing access to the social account later; not adding a backup email/phone for recovery.
One-click registration
- Select One Click in the registration form.
- Fill in the minimal required fields and complete sign-up.
- Right away go to your profile and add missing recovery info (phone/email).
- Verify personal details (especially date of birth) before attempting withdrawals/KYC later.
- Choose India/INR if asked.
Common mistakes: not finishing your profile, which causes withdrawal/KYC or recovery problems later.
Promo code / bonus code: where it appears and what to do if it doesn’t apply
Where the promo code field can appear
- Directly in the registration form (most straightforward).
- In the promotions/bonus area after registration (some systems apply codes post-signup).
- In the cashier/deposit flow (code tied to a deposit-triggered offer).
Checklist if the promo code didn’t apply
- Re-enter the code manually (avoid copy/paste hidden characters).
- Remove leading/trailing spaces.
- Confirm similar characters (O vs 0, I vs 1).
- Check whether the code is region-specific (India/INR context) or method-specific.
- Make sure you’re using the intended registration method if the promo is limited (e.g., phone-only).
- If the system shows “code accepted” but no effect appears, check your bonuses/promotions section for activation steps.
First login checklist
- Confirm phone and/or email are verified (whichever you used to sign up).
- Add the missing recovery channel (if you registered by one-click or social login).
- Check country/currency settings if your profile provides them (India/INR).
- Review basic security: password strength, session/device list (if available), logout from unknown devices.
- Read account rules for withdrawals (often tied to verification and payment-method matching).
- Set responsible gaming controls if available (time limits, deposit limits, self-exclusion).
- Save support contact entry points inside the site/app so you can reach them fast if OTP/KYC issues happen later.
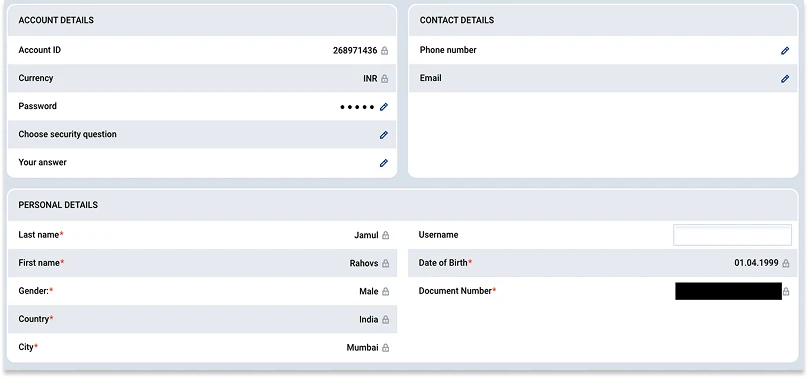
What information you should prepare before registering
- Mobile number (active SIM, able to receive OTP)
- Email address (if you choose email registration)
- Basic personal data: full name and date of birth (recommended to match documents for later verification)
Verification (KYC) for Indian users: what it is and when it’s needed
KYC is identity verification used to protect accounts and meet compliance requirements. Platforms may request ID and proof of address, especially around withdrawals.
When KYC is commonly requested
- Before the first withdrawal or when requesting higher withdrawal access.
- When account limits are reached (transaction/volume limits can trigger verification steps).
- If security checks are triggered, e.g., unusual login location/device changes, repeated failed login attempts, or mismatched personal data.
- If payment compliance requires it, especially when deposit and withdrawal instruments don’t align.
Typical KYC checklist for India
Below is a common set of documents used in India for identity/address verification (exact requirements can vary by account and support review):
| KYC item | Common examples for India | Purpose |
| Identity proof | PAN, Aadhaar, Passport, Driving Licence | Confirms your identity |
| Address proof | Utility bill, bank statement, government letter | Confirms your current address |
| Selfie/holding ID | Photo/selfie per support request | Anti-fraud check |
How to upload KYC documents correctly
- Use original photos/scans (no filters, no edits).
- Capture the full document (all corners visible; nothing cut off).
- Ensure the text is readable: good lighting, no glare, no motion blur.
- Upload the correct side(s) if the document has front/back.
- Make sure your profile data matches the document (name/DOB spelling and order).
- If a selfie is required, follow the exact pose/instruction (face visible; document visible if requested).
- Submit and avoid re-uploading repeatedly unless support asks (multiple versions can slow review).
Common reasons KYC gets delayed or rejected
- Blurry images or glare obscuring text.
- Cropped documents (missing corners/edges).
- Mismatch between profile fields and document data.
- Using an address proof without your name or without a complete address.
How to avoid KYC delays
- Provide recent address proof with your name + address.
- Use a stable device/network to avoid incomplete uploads.
- Provide address proof that shows your name + address and is reasonably recent.
- Use a stable device/network during uploads to avoid incomplete submissions.
Payments after registration
After sign-up, deposits/withdrawals are done via the cashier. Availability can change by region/account status and payment provider policies.
Commonly used local rails
- UPI (via National Payments Corporation of India rails)
- PhonePe
- Google Pay
- Paytm
Important: withdrawal options may differ from deposit options, so always rely on what you see in your account cashier.
Account recovery: if you lose access after registration
If you can’t receive OTP on your phone number
- Check whether your SIM is active and can receive SMS.
- Confirm you entered the correct number with +91.
- Check blocked SMS/Do Not Disturb settings on your device.
- If OTP delivery consistently fails, use the site/app support channel to verify ownership and update recovery options.
If you lost access to your email
- Try email provider recovery first (password reset, backup email/phone).
- If you still can’t access it, contact support and be ready to prove account ownership (KYC documents may be required for security).
If you used social login and lost that account
- Restore the social account with the provider’s recovery flow.
- If recovery fails, support will typically request identity checks to prevent unauthorized takeovers.
Security checklist right after registration
- Use a unique password (not reused on email/social accounts).
- Keep phone + email both active for recovery.
- Avoid sharing devices; if you must, log out and clear saved credentials.
- Review active sessions/devices (if the profile provides this) and revoke anything unfamiliar.
Responsible gaming
Registration is the entry point to tools that help you control spending and time. If the platform offers limits (deposit limits, session limits, self-exclusion), set them early — especially before making deposits.
Mostbet registration FAQ
Use the website or mobile app, open the sign-up form, choose a method (phone/email/one-click/social), enter required details, and confirm via OTP/email or social authorization.
Usually yes: you enter your number (+91) and confirm via an SMS code (OTP).
In many flows, yes — phone registration alone can be enough when signing up. But adding email later is recommended for recovery and security.
If there’s a Promo code / Bonus code field in registration, enter the code exactly. If no field, finish registration first then look in profile, cashier, or promotions area.
Wrong DOB causes verification problems. If you can edit your profile, fix it now. If locked, contact support before withdrawals/KYC.
Some accounts allow profile setting changes; others need support-assisted verification to prevent takeovers. You’ll have to prove ownership if requesting changes.
If currency can be changed in profile settings, switch to INR there. If locked after registration, contact support — changing currency may need manual review.
Often you can create an account first. KYC is usually required later — often before/during withdrawals — or when account checks trigger verification.
Common identity proofs: PAN, Aadhaar, Passport, Driving Licence. Common address proofs: utility bill or bank statement. Exact requirements can vary by case.
Yes. Install app (Android APK or iOS) then register.
Look at App Store region settings; availability depends on location.
Usual causes include security checks (strange device/location), OTP failures, or wrong profile info. Use support to find out what verification they need.
UPI and major UPI apps are commonly used in India, but the actual cashier options can vary and may differ for deposits vs withdrawals.
Mismatches between profile fields (name/DOB/address) and your documents are a common reason for verification delays or rejection during KYC checks.